

Create an event
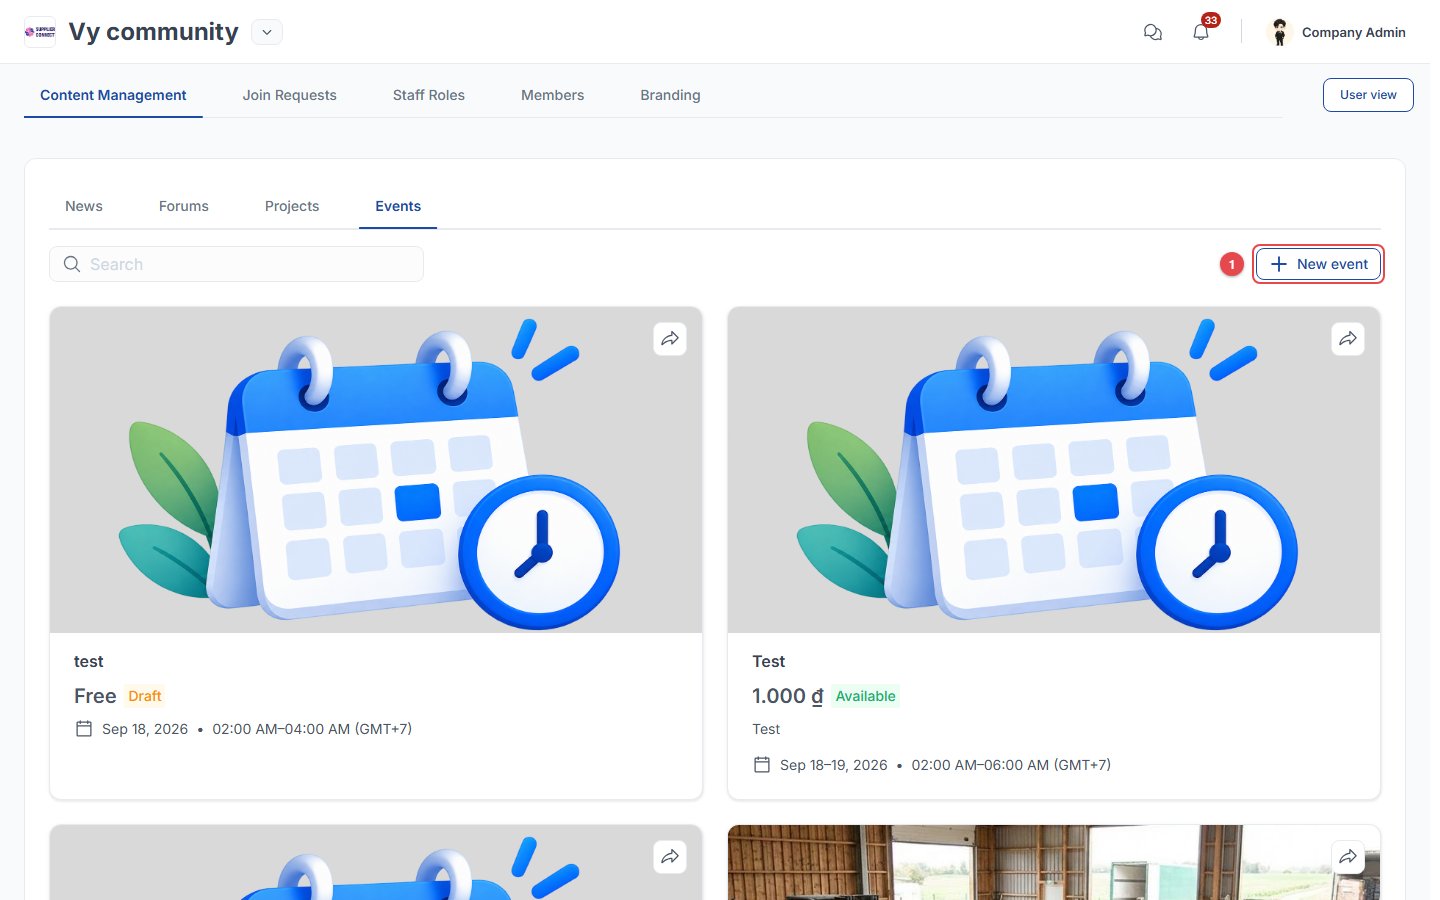
1
Details
Enter the name, description and thumbnail.
2
Date and time
Set the date and time. Multi-day events are supported.
3
Type
Choose Online (meeting link), Offline (location) or Hybrid.
4
Capacity
Set the capacity, or no limit.
5
Fee
Choose Free or Paid. For a paid event, add the registration fee and payment information (bank details and/or QR code).
6
Audience
Set the target audience.
7
Save
Click Save as draft or Publish.
Attendees and materials
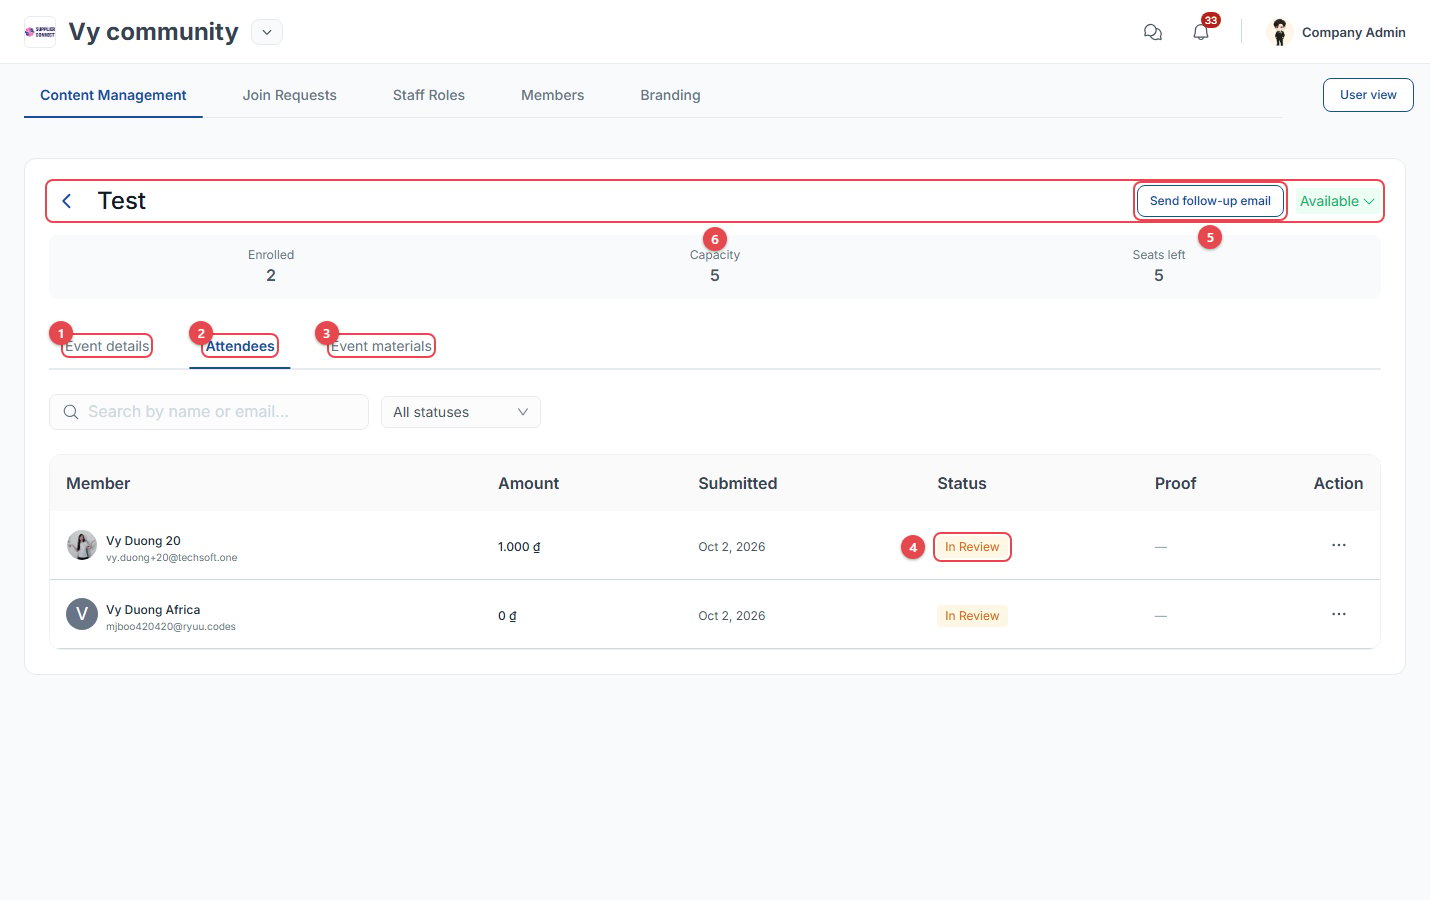
- Event details: edit the event.
- Attendees: everyone who registered, with the amount, submission date, status and proof of payment.
- Event materials: upload photos, videos, documents and links. Choose whether all community members or only attendees can see them.
- In Review: open the row’s … menu to Confirm payment or Reject payment.
- Send follow-up email: send a Pre-event update or Post-event follow-up to attendees, or an Event invitation to members who haven’t registered.
- Status: change it to Mark as full or Cancel event.